
I can't even tell y'all how long I have waited to write this post! My master bathroom is finally finished!!!!! This bathroom has been over a year in the making! When we bought our 'fixer upper' 2 years ago, I told my husband that I was up to the challenge on one condition; the master bathroom had to be gutted!! It was awful y'all!! The shower was tiny, plastic, and looked like it belonged in an RV more than a master bathroom! This space was such a labor of love for my husband and I! We DIYed every inch of this bathroom ourselves and paid cash for every project along the way! I am so proud of what we were able to accomplish together and so happy to finally be able to share it with you!
 Before and After

During

This space is such a total transformation! It is so bright, fresh, and inviting now!

Vanity before...Oh what a sad little place to store my makeup collection! lol.

The vanity (Craigslist $200) and it was already refinished!

Rugs (Home Goods $9ea)

Before...the cutest little #demoday helper ever!

Before...we swapped the shower and the toilet.

Before...Window prep

My husband installed a window to bring in even more light! This window is probably one of my most favorite parts about the renovation!

Farmhouse vessel sinks (Overstock.com $100ea). Antique Brass faucets (Homary.com $70ea). Mirrors (At Home $30ea.) I painted the mirrors and lighting to match the antique brass faucets!

 Before and After
During

This space is such a total transformation! It is so bright, fresh, and inviting now!

Vanity before...Oh what a sad little place to store my makeup collection! lol.

The vanity (Craigslist $200) and it was already refinished!

Rugs (Home Goods $9ea)

Before...the cutest little #demoday helper ever!

Before...we swapped the shower and the toilet.

Before...Window prep

My husband installed a window to bring in even more light! This window is probably one of my most favorite parts about the renovation!

Farmhouse vessel sinks (Overstock.com $100ea). Antique Brass faucets (Homary.com $70ea). Mirrors (At Home $30ea.) I painted the mirrors and lighting to match the antique brass faucets!


Towel rack (Hobby Lobby $20)

Shower niche

I love to use cotton balls and q-tips displayed in a pretty glass jar as decor in the bathroom!

Faux ship lap feature wall (painted Light French Grey-SW).Vanity Lights (Joss and Main $100ea).

Rain Head shower with exposed pipes in antique brass (Homary.com $200). White subway tiles with white grout. Can I just say that after laying each individual subway tile, wall to wall, floor to ceiling, I have a greater appreciation for subway tile than I even did before?! That was a beating!

Best. Shower. Ever. lol.

I added a custom made cafe curtain so we can have just enough privacy when needed!
We also decided to take part of the open den on the other side of the bathroom wall to create a dressing room for myself. A girly mom of 3 boys definitely deserves a dressing room right?!
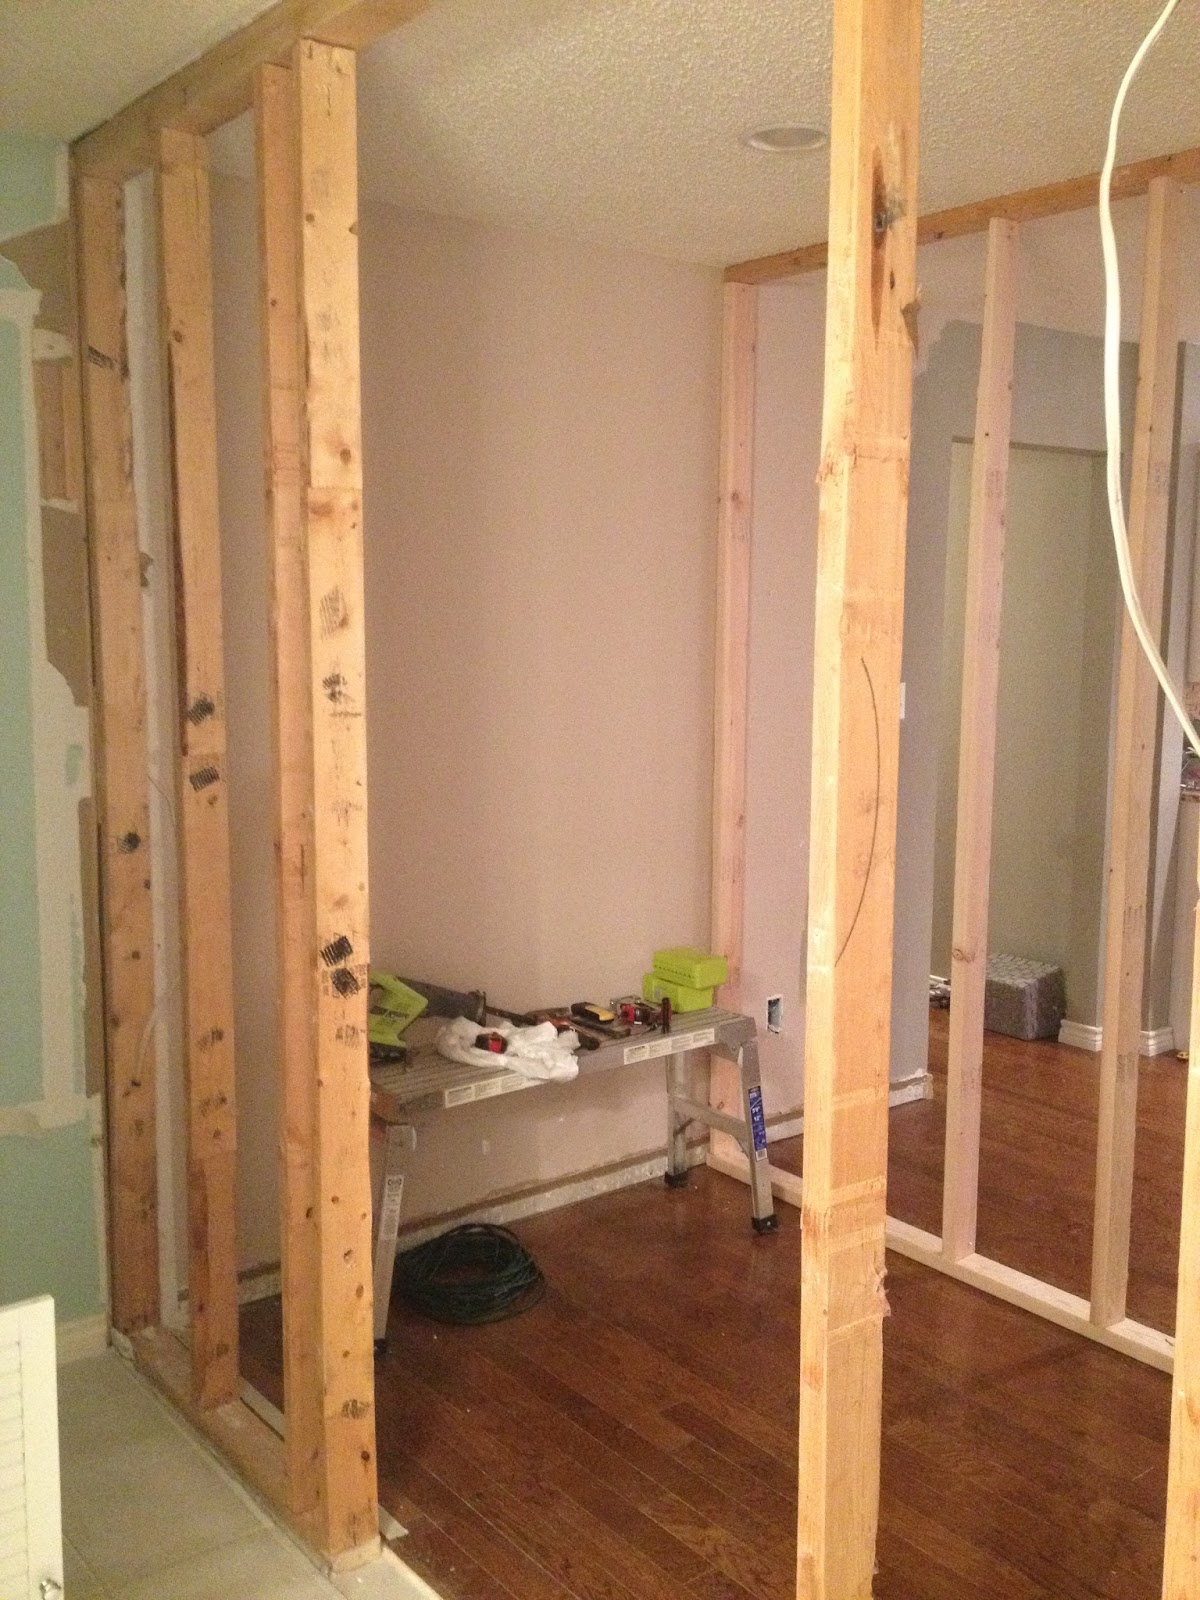
Before...studs

After!!!! Mirror (Ikea $75) I repainted and dry brushed it to give it this look! Wall paint is Passive by SW.

Before...Studs and you can see into my kitchen!

Mirror (Habitat ReStore $20) repainted. Vanity (Craigslist $150) repainted. Chair (Home Goods $200). Sconces (Joss and Main $40ea).


Perfume tray

My DIY shoe rack made of $5 unfinished crates from JoAnn's. I stained them with Varathane's Briarsmoke and used a nail gun to put them together!

Closet (Lowes on clearance for $160). Chandelier (Antiquefarmhouse.com $60).

No comments:
Post a Comment