Hey everybody! I know its been a few weeks since my last post and I apologize! Life has been very hectic lately around here! I have been working on so many things around the house as well as new client projects. We are also expecting our second baby so I have been pretty sick, but feeling much more like myself now!
I have some projects I am just completing and will be taking photos of to share with you soon, but since I have baby on the brain, I thought I would share my first born's nursery with you today! I designed his nursery before I started this blog last November and it seems that the grey and yellow color scheme is very popular now, so hopefully it will inspire you! Not to mention when I posted this post on the
vintage baseball nursery I designed for a client, it took the top spot for most views on my blog at 805 views in only 4 months!
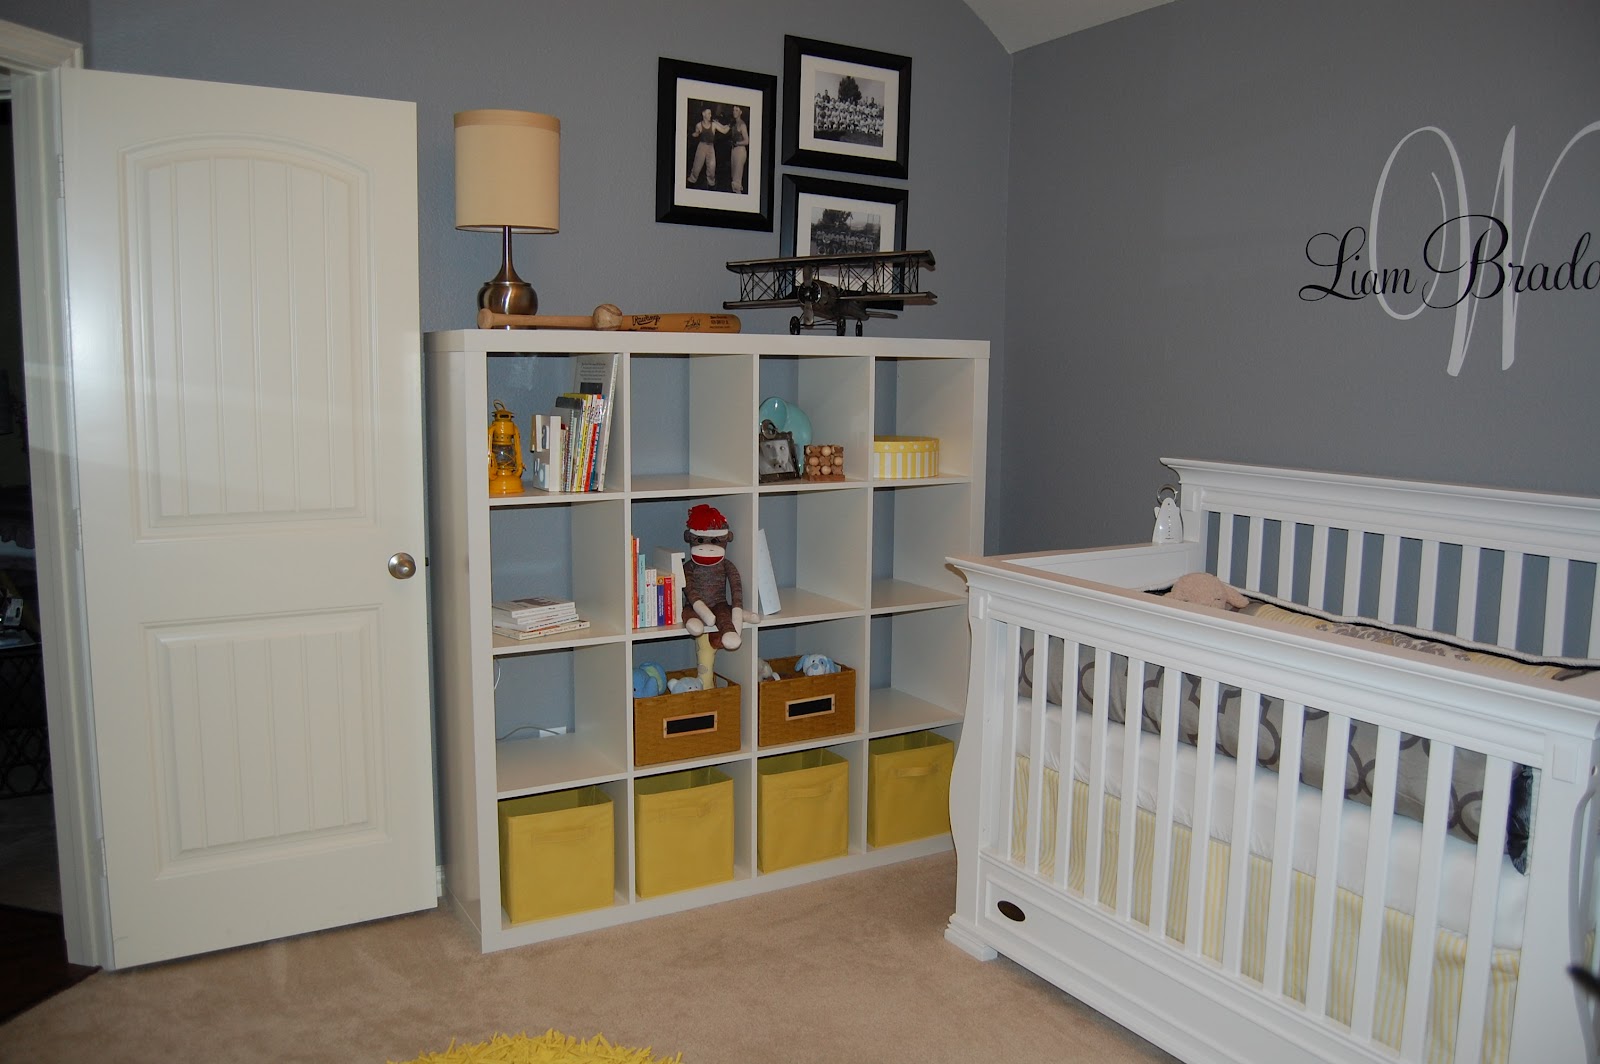
We painted the walls grey and used lots of white, yellow, and black accents. The drum shade pendant light was custom made at lamps.com to match the quatrefoil pattern in the fabrics.
I think it is so important to personalize every room in your home with photos, so we added 3 of our maternity photos in the nursery. The chair was custom made to match our color scheme with white fabric and grey piping trim.
We used an Ikea bookcase and yellow bins to store toys and books.
I almost always replace the knobs that come on any piece of furniture, so for this dresser I added round yellow knobs to match the room. It is also important when designing a space to add shape repetition throughout the room. You will see we have a round yellow side table, round yellow candles, round yellow knobs, and round yellow rugs. This helps to draw your eye around the room.
This beautiful photo was taken by a professional photographer that was sent to take photos of our home for an online company. Of course it was once we had already lowered the crib for our now toddler, so the room doesn't look as well put together as it did when he was still in my belly :)
For the curtain, I used a white textured fabric and added the grey quatrefoil trim along the edge.
For more personalization, we added black and white vintage photos of my husband's grandpa's playing sports back in their day!
I could not find a bumper that I liked, so I made this one myself. Incorporating modern yellow and grey fabrics. Of course, when I was designing this room, there were no good yellow and grey fabrics to be found! Today they are everywhere!
I wanted a way to divide the clothing in the closet, so I scrapbooked these size sorters to match the room!
Last but not least, we customized the closet to maximize storage and hanging space. This was just a simple kit from Lowes. We removed the single bar and added these pieces.
Just looking through these photos again makes me so excited to design our new baby's nursery! I already have so many ideas in mind, but we have to wait about 2 more weeks to find out what this little one is! Can't wait!


.jpg)

