Pages

Tuesday, May 29, 2012

Yard Crashers on a Budget

So do you guys remember a few months back when I was talking about completely renovating our backyard? I know its been a while, but I finally have before and after photos to share with you!
We have lived in our home for 3 years and the backyard has never been touched. It has stayed the same 'builder grade' typical housing development backyard. a.k.a a barren wasteland!
When we received our tax return this year, we said we were going to use it to make our backyard a warm and inviting space that we wanted to spend time using. So, during my husbands spring break, we demoed and completely redesigned the entire yard. We kept calling our selves yard crashers on a budget. We were obsessed with that show for months before the project getting as many ideas as we could, the only difference is they spend tens of thousands of dollars and have so many people working on it!
I had drawn out exactly what we wanted it to look like and planned out our shopping trips, budget, and daily priority list weeks in advance.
I took a million photos from start to finish and here they are!

Here is a before and after side by side!


This is a before view from the back of the yard looking at the house.


This was our TINY patio. It barely fit our BBQ and a couple chairs...let alone people!

And here it is after! Since we were able to move the BBQ out we can now fit a small table and chairs. We eat dinner outside almost every night now! This cute little set was at IKEA for only $99!! Can you believe that price! That was for all 4 pieces!

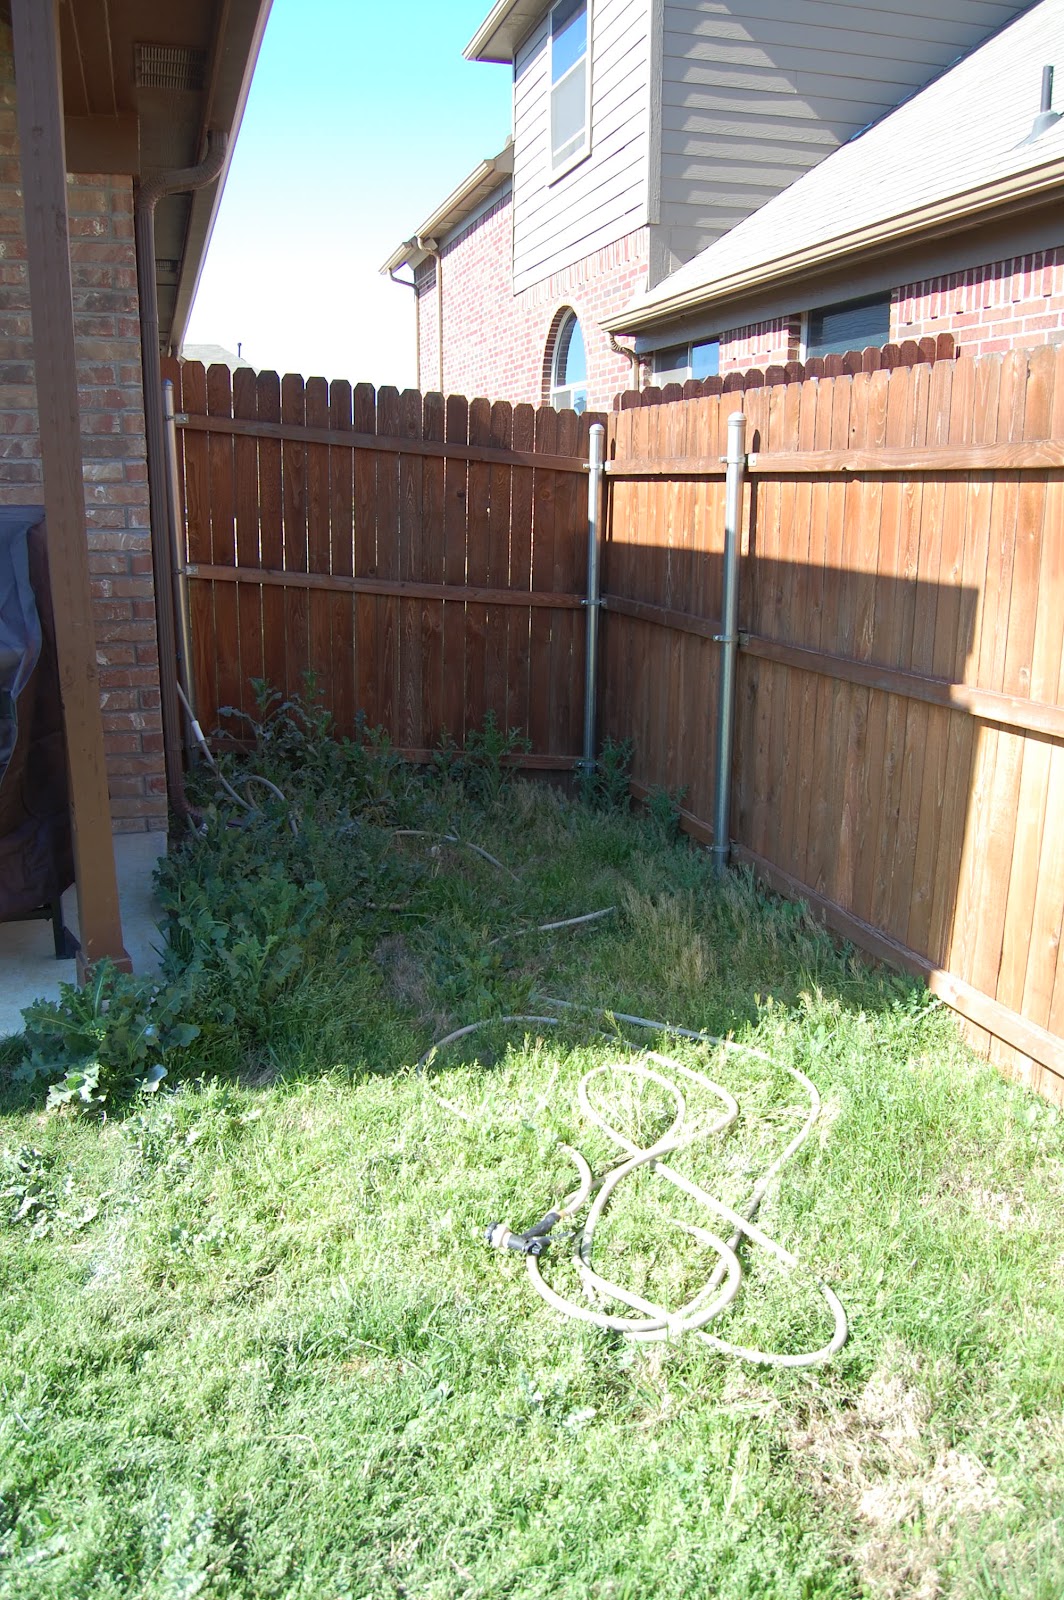
This was the side yard where the water spout is. It was completely overgrown with weeds and muddy grass. All of the water in the backyard drained right into this corner. It was a disgusting mess!

And here is the side yard now! We dug up the grass and filled the area with pea gravel. This allowed for a great spot to store the hose, use the BBQ, and when it gets wet, it is no longer a marshy mess!

Here is another view of the side yard. We used lots of potted flowers to give color to that area and in those small pots to the right I am growing mint and basil! Nice to have around anytime I want a mojito!


This is after step 1: Removing the sod. We rented a sod cutter from Home Depot for the afternoon and cut up all the sod in the areas where we did not need grass anymore.

Here is a picture of my hard working hubby! Believe me, you don't want to see a picture of me...
This project was NOT fun, it was hard work, hard labor, and very messy! I didn't think I would ever be able to use my hands again!


This was the new patio after we had laid sand and the paver stones. This photo shows the sand setting on top of the pavers so we could fill in the cracks.

Here is a close up of the pavers


This is a back view of the new patio

We decided to build a rock bench around the curve of the patio for seating and to give the patio an enclosed, cozy feel. This is the hole for the cinder blocks which would be the base of the wall.


Here is the wall after we covered the cinder blocks with stone veneers.


This is the stone wall completed!


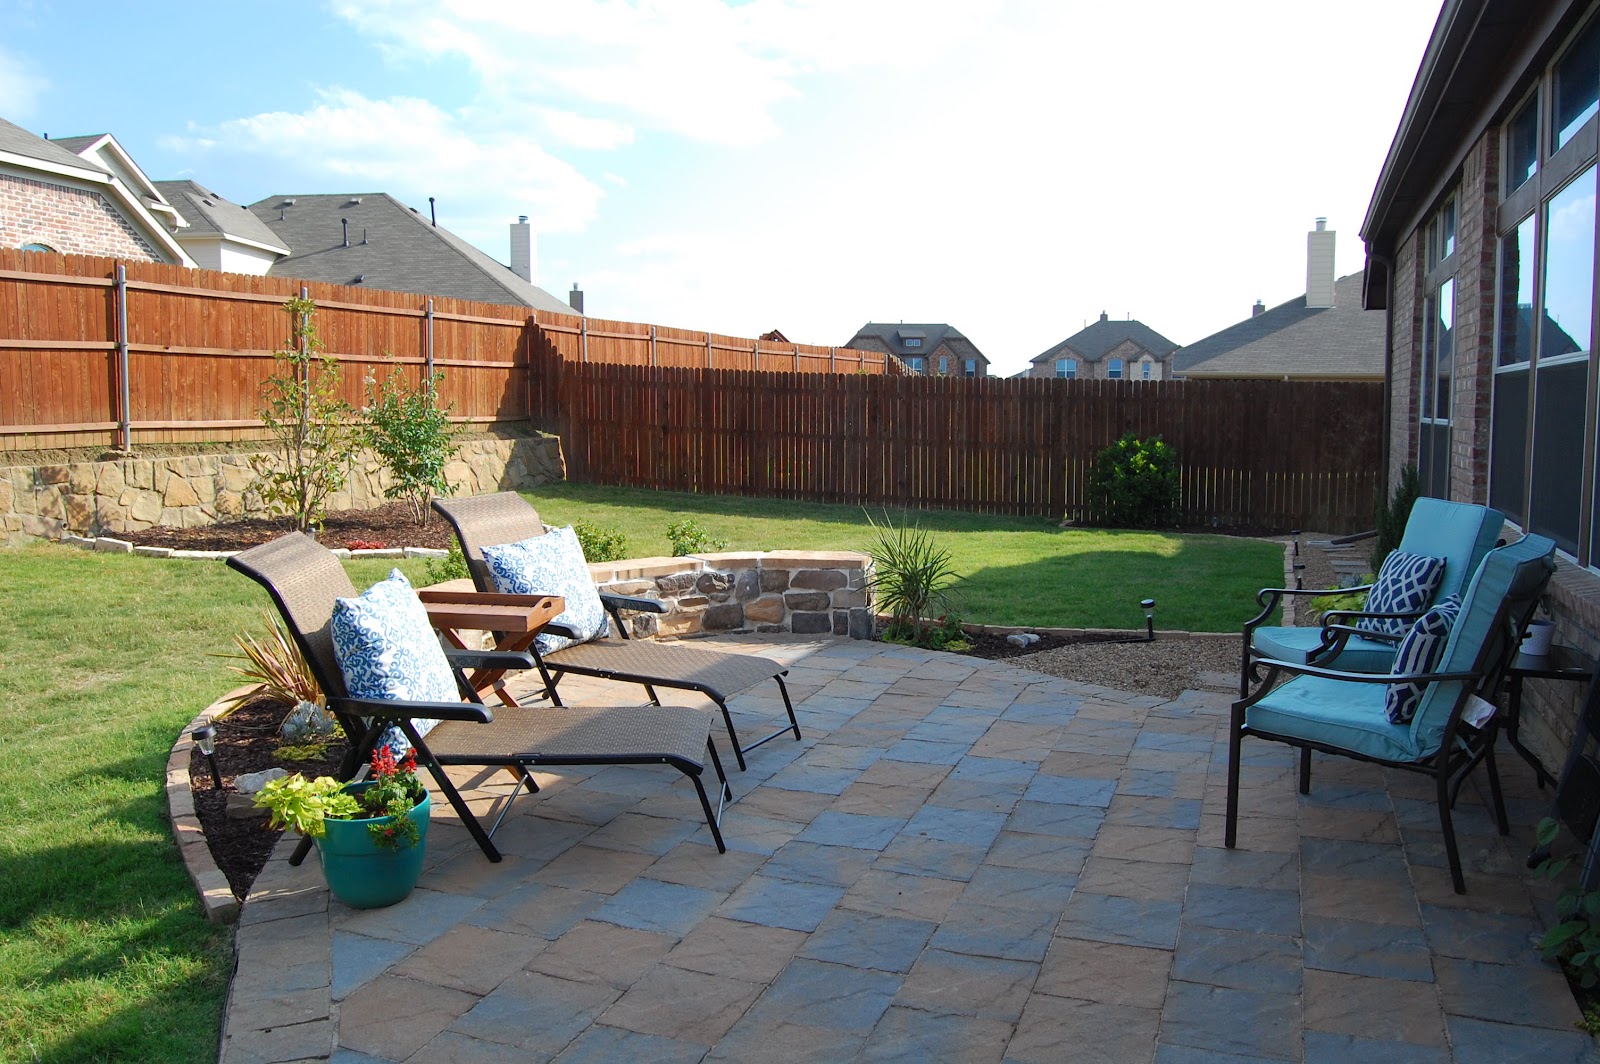
Here is an after view from the back of the yard.

I found these 2 lounge chairs at Ross for only $50 each!

This photo shows one of the tree/flower beds we put in to break up all of the grass as well as the raised vegetable bed on the left. We are currently growing cucumbers and peppers!


We left a nice grassy area on the left here for our little one to be able to play when he gets a little older!

Planting trees is not easy either! They weigh a ton and 2 of them died after 2 months, but luckily we had a warranty and were able to exchange them for new ones! So if you ever buy trees make sure they come with a warranty!


This side of the house is the entrance to the backyard. We also filled it with pea gravel and stepping stones.

Here is a close up of the stepping stone walk way


This is now such a relaxing spot to lay out during the day or enjoy a glass of wine in the evening!


This project was a huge undertaking! We did pretty much all of this in just 9 days! And we did it all on a major budget! The quote we got for the patio alone was WAY more than our budget for the total project. Yes, it is hard work, but it is totally worth the end result! You can save so much money and then you have the gratification of knowing you did it yourself! My husband and I really enjoy working on projects together!

Since then we have been tending to the flowers, garden, and grass. It looks even better with the flowers growing bigger and bigger! I really love having a space now that we can all enjoy. I am telling you the truth when I say that we never spent time in our backyard in the 3 years we have lived here, it has been a long time coming, but we are so happy with the end result!


Monday, May 21, 2012

Emory's Baseball Nursery

  A few weeks ago, my family and I drove to San Angelo, TX to help a good friend of mine set up her nursery. She had hired me to make all custom textiles for the room and I thought it would be fun to personally help her set it all up!
Just a few days ago little Emory decided it was time to come out! So I thought today would be the perfect day to share the nursery with you all!

She wanted a vintage baseball theme for the nursery

My friend had found this cute vintage baseball fabric online and I based the rest of the colors and patterns from there. I went with a navy and red pinstripe and a red and white chevron.

All of these fabrics can be found at fabrics.com.

The curtains turned out to be one of my favorite things in the room! I had bought these vintage cream colored pre-made panels and then I sewed a red band and the pinstripe fabric to the bottom to add length, color, and pattern! I really think they resemble the old vintage uniforms baseball players used to wear!

Above the changing table we hung 2 pieces of vintage-style baseball art and then offset them with a cute distressed red shelf. I styled the shelf with an "E" for Emory, a baseball piggy bank, and a photo frame that has a photo of Emory's dad playing baseball when he was little. I love incorporating some of the parent's childhood photos when designing a nursery. It gives it a really personal touch!


Above the crib we hung a vintage baseball mobile and a pennant with Emory's name.

I made these vintage baseball tiebacks for the curtains.

I made this blanket with the left over fabric scraps and backed it with white minky fabric.

 
The pillow was one of my shower gifts for Emory. I will have these pillows up on my Etsy page soon. You can view my Etsy listing for full custom nursery textiles here!

Isn't it such a cute room?! I am sure Emory is going to love it and I hope I have inspired you with some fun nursery ideas! Keep in mind that Style with Wisdom is a full service design consulting company and I love doing nurseries! We can work with local and long distance clients! Just shoot me an email! jennifer@stylewithwisdom.net

Tuesday, May 15, 2012

Shabby Nightstand

If you've been following my blog, you know that I am now working on re-designing my master bedroom. I recently began repainting all of the furniture in the room. Everything we had was very dark espresso colored wood. We had these matching night stands that were in great condition and had great lines, but they were just too dark and modern looking for the Cape Cod look I was going for. So, I decided to paint and distress them to give them a shabby, worn look. Here is the process step by step!

Here is the nightstand before. It was dark espresso and it had one handle in the center of the drawer.

First I used a heavy weight sand paper to roughly sand it down. Since I knew I was going to be distressing it in the end, I didn't worry about sanding in completely. I just scraped the surface enough for the paint to have something to adhere to.

I removed the drawer and sanded it down as well.

Since I knew I wanted to replace the handle and use 2 this time, I filled the holes with wood filler and once that was dry I sanded it down again. This way, after it is painted, you will never know there were holes there!

This is after one coat of paint. I used a small roller to do this coat. I used Behr paint color Bistro White in a Satin finish.

This is after the second coat of paint. I used a brush to do this final coat since I wanted a brushed look. I also bought my brushes at the dollar store! They had really great brushes in all sizes all for $1!!

From there I distressed all of the edges and a little on the front with heavy weight sand paper and a medium weight sanding sponge.

I added new hardware to the drawer from Hobby Lobby. These pulls were only $3 each! I just drilled new holes for the screws!

Here is the side by side before and after! What a huge transformation!

After a little styling with a small grey wicker basket below and a dark lamp on top, they look amazing in my bedroom! I can't wait to show you the whole room. It is turning out beautifully!
This was my first time painting and distressing furniture and it was really easy. Yes, it did take a few days to complete, but totally worth it! I hope I have inspired you to transform one of your furniture pieces!

Tuesday, May 1, 2012

New Life for an Old Ottoman

A client recently asked me if I did re-upholstery and my answer to that is only if they are small projects. I do not have the tools or space to be recovering wing back chairs, nor do I want to, but small ottomans are fairly simple and I love giving new life to something old. You can do so many fun things with ottomans; change the fabric, the buttons, paint the legs, etc. There are too many combinations to count!
So, I am now offering small re-upholstery projects to my services. You can check out my services and prices here at www.stylewithwisdom.net. If you live in the Dallas area I would be more than happy to help you with your small reupholstery project!

This is the ottoman before. All black leather with button tufting and brown legs.

Before and After


We wanted to re-use the leather buttons so I set them aside when removing the leather. I then covered the ottoman with the fabric my client had provided and re-tufted it with the leather buttons. It looks like a completely different ottoman! This bench brand new would retail for at least $200!

 Here it is placed at the foot of the bed in her master bedroom! I love knowing that it now it has a new life!!


Here are a few of my favorite small re-upholstery projects I found on Pinterest!

Isn't this chair so adorable!? I love the fabric print and the blue paint! I really wish I could give credit to the person who did this, but it would not link back to anyone so if you know please leave a comment below!

I LOVE these! If you ever find this type of chair on craigslist in the Dallas area message me IMMEDIATELY!

I have these exact same bar stools in my kitchen! But they are dark espresso and someday I plan on changing them, but I am not working on the kitchen yet...I have to keep telling myself that! But I love the white with the fabric print!! You can see the before and after process on Thrifty Decor Chick here!


These would be very easy to make! You can really make an ottoman out of any side table or coffee table! Just add foam padding and fabric!

I hope these makeovers inspired you today!